Jun 13th 2014
How to Apply Vinyl Lettering and Graphics
So, you’ve got your sign brackets all picked out and you’re ready to choose the signs and lettering. There are so many choices and seemingly difficult questions. Should I use lettering at vinyl graphics? What are the best sign substrates? Should I use PVC sign blanks or go with traditional wood? All of these are valid questions when dealing with your special business sign.
Make your choices before you apply your letters or graphics.
First, the best sign substrate hands down is PVC. PVC is sturdy, weatherproof and cheap – that means that you can choose whatever kind of lettering that you want and still get away with saving a lot of money. A PVC blank such as the 26" x 13″ traditional style is an excellent choice for anyone that wants to save cash and add class.
Next, you’d want to figure out whether or not you want to use vinyl lettering or a graphic or both. Vinyl graphics are not expensive and with most companies turning to digital imaging you can customize your sign anyway you want to. Remember to choose something large enough to fill a decent amount of space on your sign – something like a 26″ x 17″ oval sign would hold a five or six inch graphic and still have some room for nice, visible letters.

Applying the letters is easier than you think.
Some people claim they have no artistic ability, and that’s perfectly fine, because applying vinyl lettering to a PVC sign blank or other kind of substrate doesn’t require any. It does, however, require some patience.
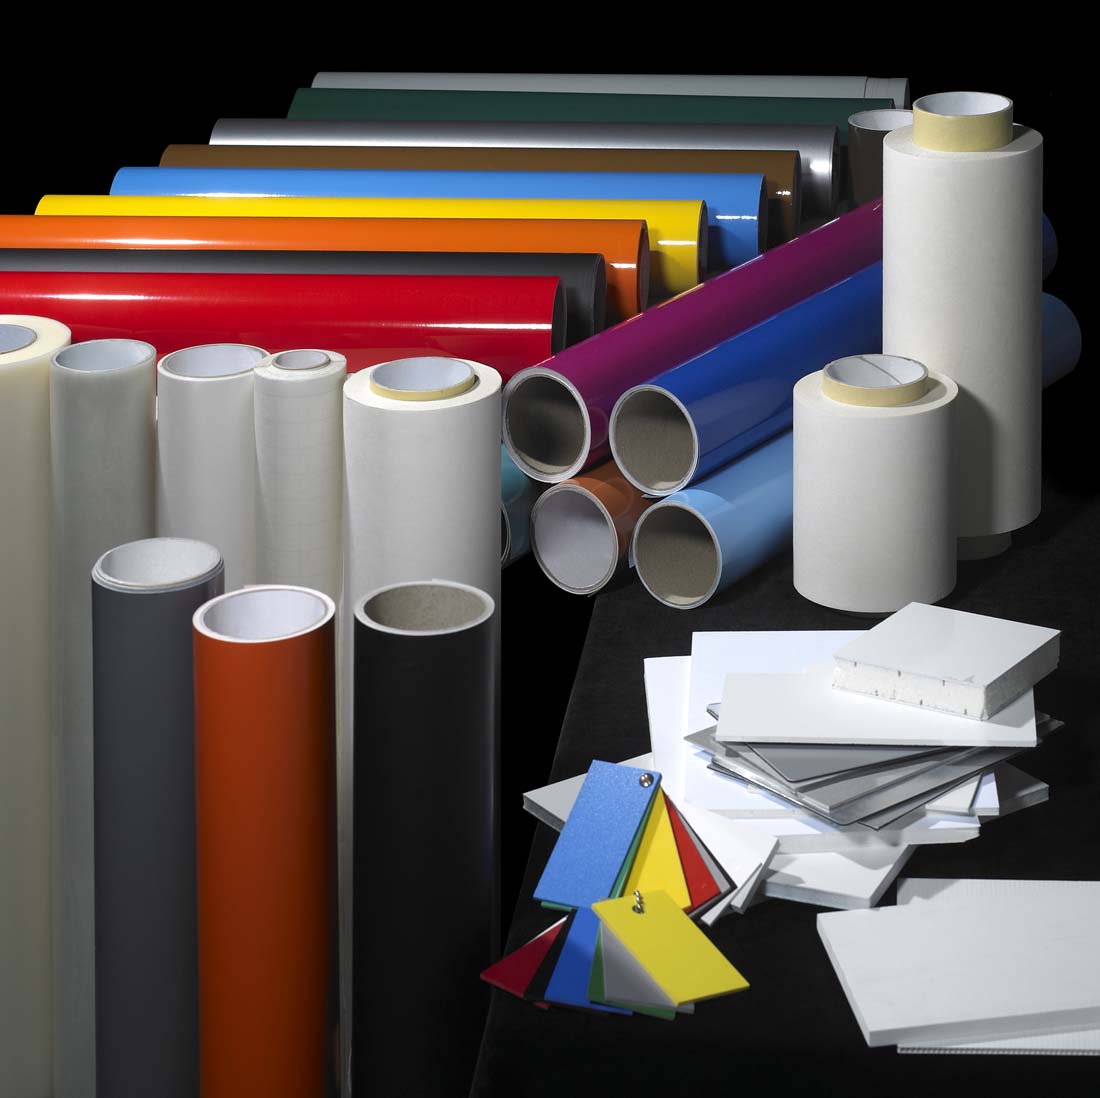
Basic vinyl letters and graphics are printed on large sheets of plastic and have a paper liner on the back. This makes things simple; you should just be able to stick and peel right? There are a few more steps than that, but it really IS that simple, check it out. Let’s pretend that you’ve ordered a 36″ square sign blank and you’ve got your graphic ready.
- Make sure the surface area of the sign is nice and clean – dirt and debris make it hard for the vinyl to cling and it doesn’t work right.
- Position the graphic or lettering on the sign where you want it and mark the area. You will put the letters on facedown.
- The graphic is sticky so it can be applied. Peel the back off and press it down, using an applicator to squeeze out any bubbles.
- Peel off the transfer tape and enjoy your sign.
That’s all folks!
Applying your own graphics isn’t hard; it’s really just a matter of making sure that your graphic is where you want it when you’re ready to apply it to the sign.